Designing and Building a Raspberry Pi Based Book Quote Clock
For Christmas this year, I wanted to take advantage of having some extra free time in my life to make a present for my girlfriend, rather than just buying something off the shelf. I came across this article about turning a Kindle into a book quote clock and thought it was a perfect idea for her as an avid reader, although I didn't have a Kindle to repurpose, and I wanted something that would look a little nicer on a table.
I decided to build a similar gift from scratch, using a Raspberry Pi and a custom-built wooden housing. In this post I'm going to cover both the software and hardware side of how I designed and built a custom book quote clock!
Just here for the end result? You can skip to the end, but you'll miss out on lots of cool details!
Shopping List
I needed a handful of tools and supplies. Some I already had, and many were new ones. You could probably get by without some of the tools I used, but I'm always looking for an excuse to expand my tool collection so I went ahead and bought some new power tools to make the job easier.
Supplies
- Raspberry Pi 3A+ (Due to supply chain issues this was literally the only model I could acquire in time for Christmas. I would have preferred a more powerful model but it gets the job done)
- 5" Raspberry Pi Touchscreen
- Micro SD Card (for the Raspberry Pi boot disk)
- Flush Mount USB-C Port
- USB-C to Micro-USB Adapter
- Micro-USB right-angle adapter
- Poplar wood pieces
- Wood Glue
- 2 colors of wood stain
- Super glue or other strong adhesive
You could get by without the usb-c adapters, but I really wanted a flush-mounted USB-C port on the back of the case. More on that later. Depending on the size of the case you end up building, you may need a right-angle adapter for the micro-USB cable. There wasn't enough space in mine above the Raspberry Pi to use a normal straight-end cable.
Tools
- Miter saw (I have a power miter saw but the number of cuts are few enough you could probably get by with a miter box like this)
- Various clamps (for while gluing the wooden casing)
- Drill (and a large drill bit)
- Hot Glue Gun & glue
- Dremel Tool
- Sanding block and sand paper
Building the Software
I spent 80% or so of my time on the software for this device, and 20% on the rest of the tasks, so this was definitely the biggest chunk to get completed, though not the most challenging for me (woodworking is not my specialty so I was a bit nervous for that part). I started work on the software a while ago, and have been working on it off and on over the last few months.
Interface
I knew I was going to make this web-based, so I spun up a basic Next.js project using a starter template I built a while back to include tailwindcss.
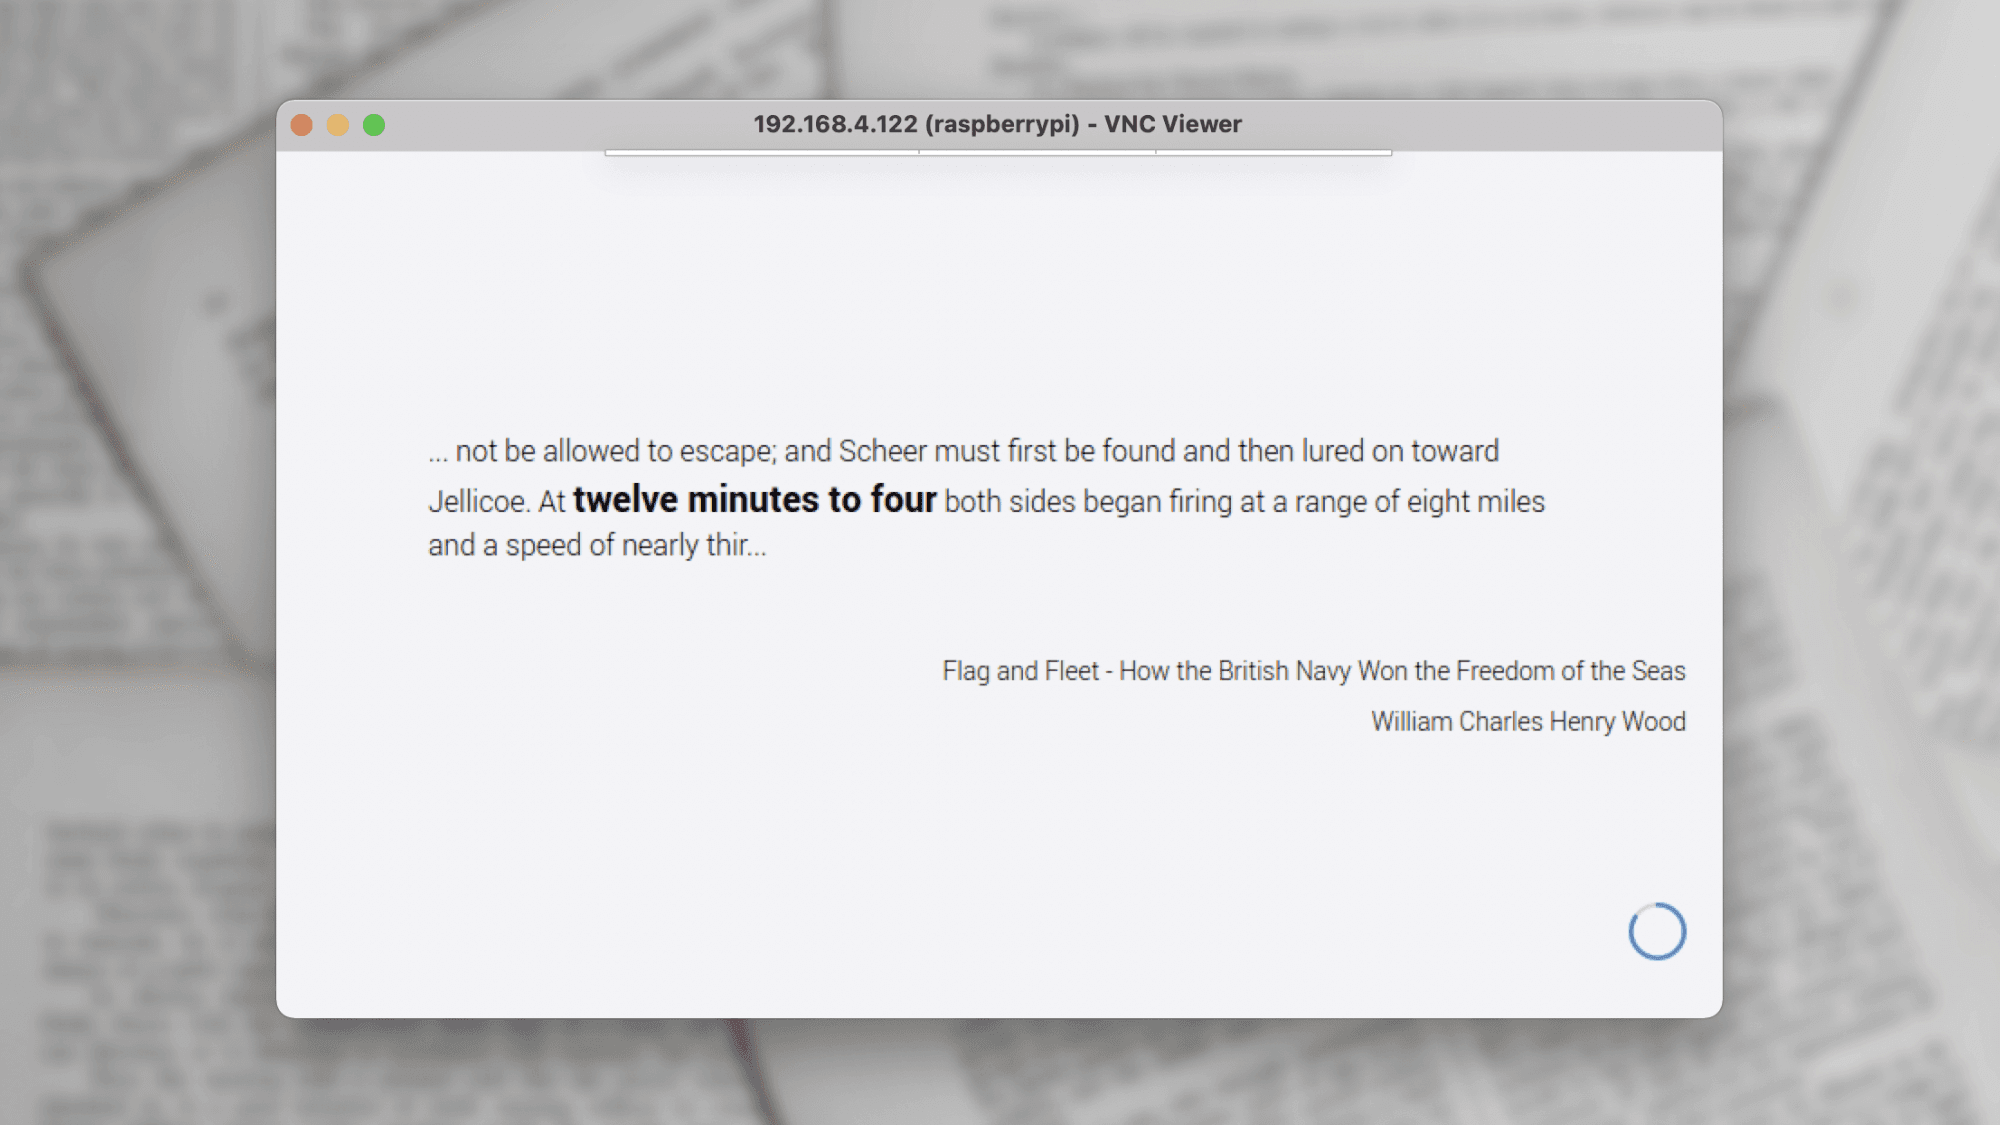
The UI is fairly simple - it evolved slightly from this first prototype, but what was important was to show the time clearly, show an indicator counting down to the next minute, and show the book title and author. With the UI prototyped, it was time to move on to the hardest part of the software - collecting the quotes to use.
Finding the Quotes
The clock tells time in the 12-hour format. This means that there are 720 unique minutes that I needed to find a quote for. In addition, I wanted to have the quote correspond to the time of day as much as possible. For example, I didn't want a quote that said "the time was three forty-five in the morning" to appear during the afternoon, and vice-versa. I also wanted as many choices as possible for each time, so it could be randomized such that the same time of day wasn't always the same quote. This is no small ask; if I want just 2 quotes for the morning and afternoon for each time, that's 2,880 quotes I need to come up with. I needed to find a way to automate finding these quotes.
Thankfully, I was able to use Project Gutenberg as my content source. I downloaded a large plaintext subset of the library, containing about 60,000 books at a size of around 16 gigabytes. The gutenberg-dammit repository on GitHub was a huge help by providing plaintext copies of Project Gutenberg through 2016. Now, I needed to find the quotes I cared about. Let's break down a particular time, say, 3:37. There are many ways to represent this time in the English language:
- 3:37
- 3:37 PM
- 3:37 in the afternoon
- three thirty-seven
- thirty-seven minutes past three
- twenty-three minutes to four
- ... and so on
Some of these options yielded poor quality results. For example, the format of simply
3:37yielded many references to scripture, as that's the same format of chapter:verse used. I ended up excluding any matches in this format, unless they were followed by something to indicate it was a time, such as3:37PMor3:45o'clock.
You'd be surprised how many odd ways of telling time show up and I wanted to capture as many of them as possible. Across all times, I generated a total of 14,592 phrases to search for in each of the books. That means I needed to do 875,520,000 string searches to process all of Project Gutenberg into phrases indexed by the times they reference.
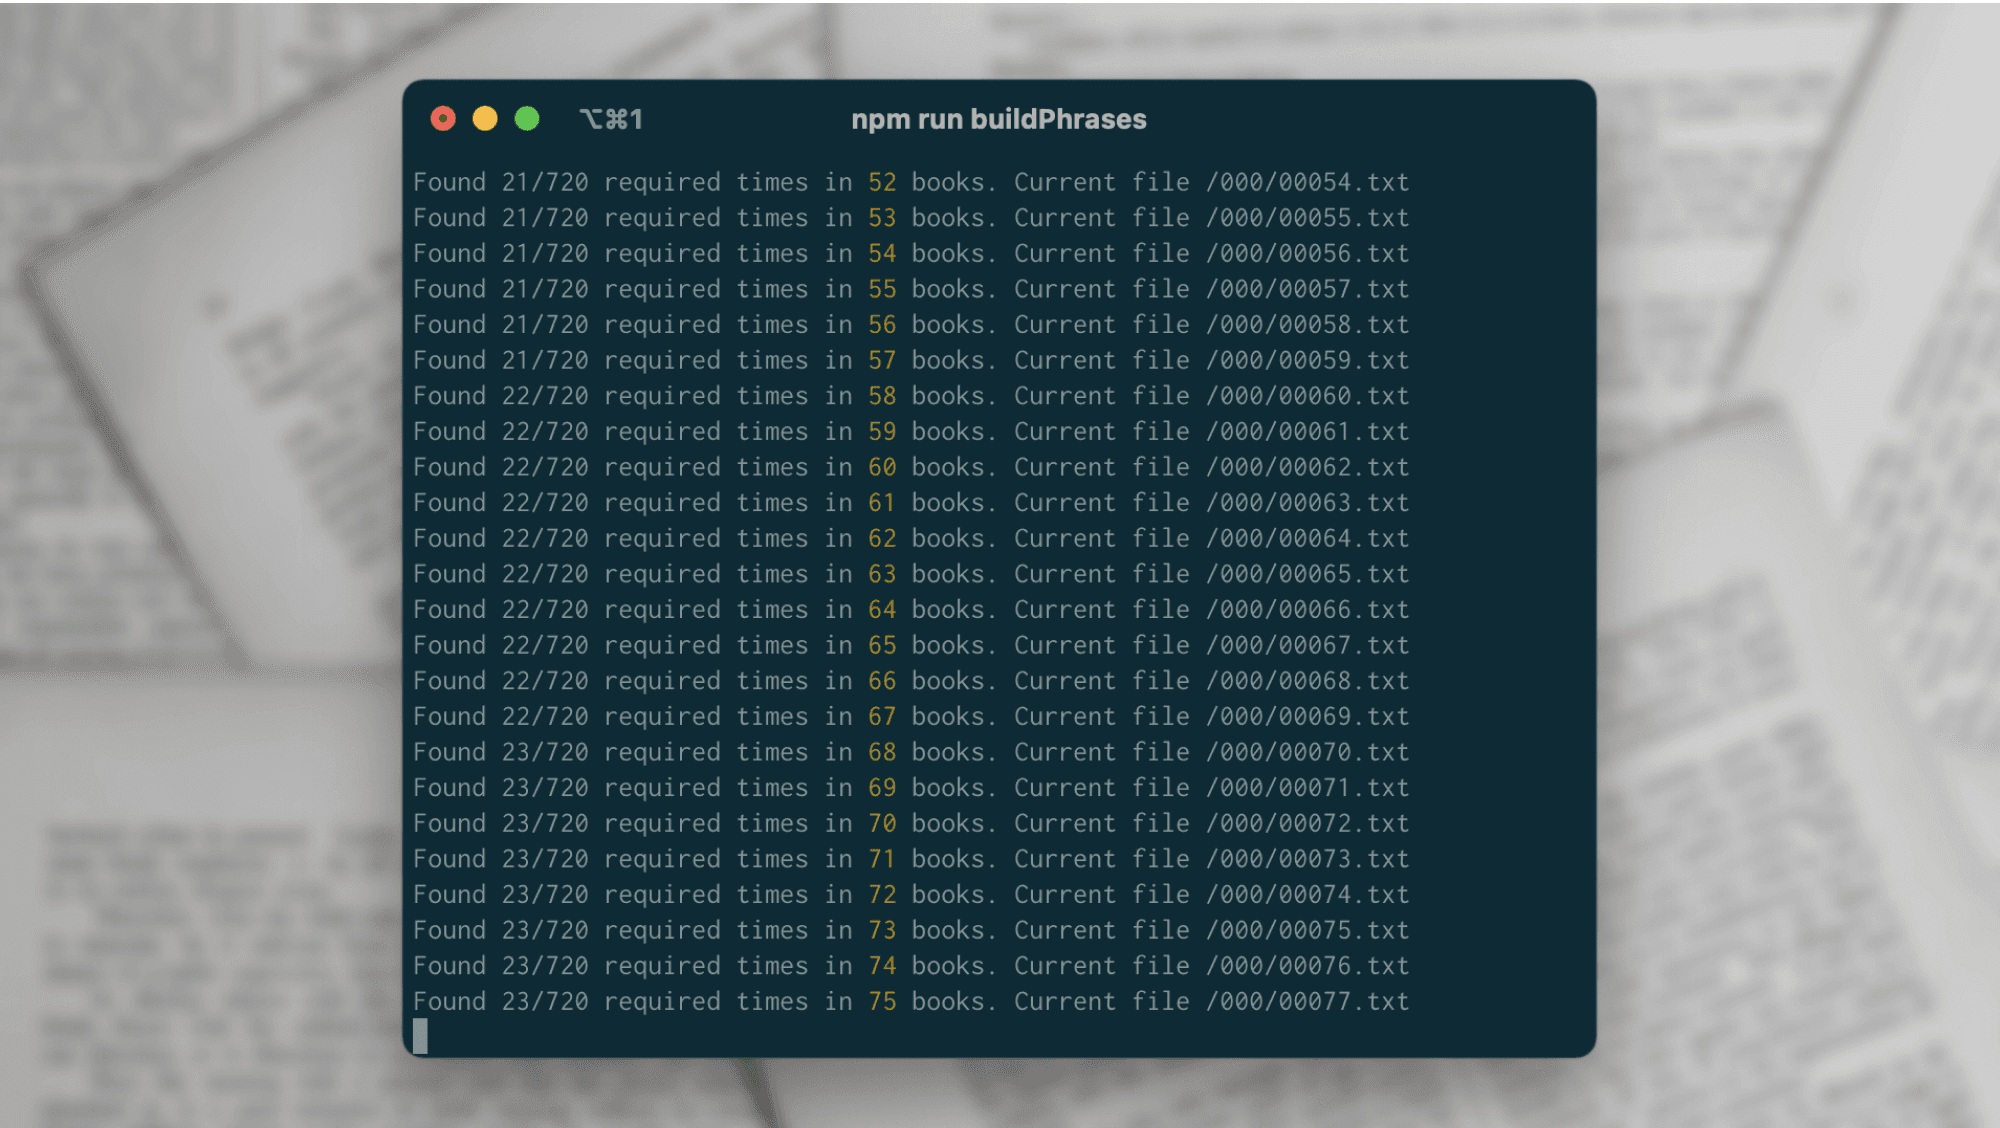
The search completed in about 24 hours and yielded a little over 500 or so of the required 720 unique minutes. Some of the times had dozens of possible quotes, some only had one. Not a bad start, and that's well over half of the quotes already knocked out. I didn't want to waste much time trying to optimize this search algorithm, since it was only going to run once and then it generated a JSON file of all the quotes for use in further processing.
The next step was to organize the phrases by which half of the day they were in as I mentioned earlier. I split them into 3 groups, morning, evening, and both. In this way, the web app is able to pull from the morning + both list, or the evening + both list, and have the best chance of finding a matching quote.
Building the Hardware
As I mentioned above, this is running on a Raspberry Pi 3A+ (this is the square Raspberry Pi). It's powerful enough for running my simple web app, but it's a bit underpowered for my liking. If I could have, I would have bought a higher end model but with supply chain shortages this was all I could get, and it still cost me $50 (about double what it should).
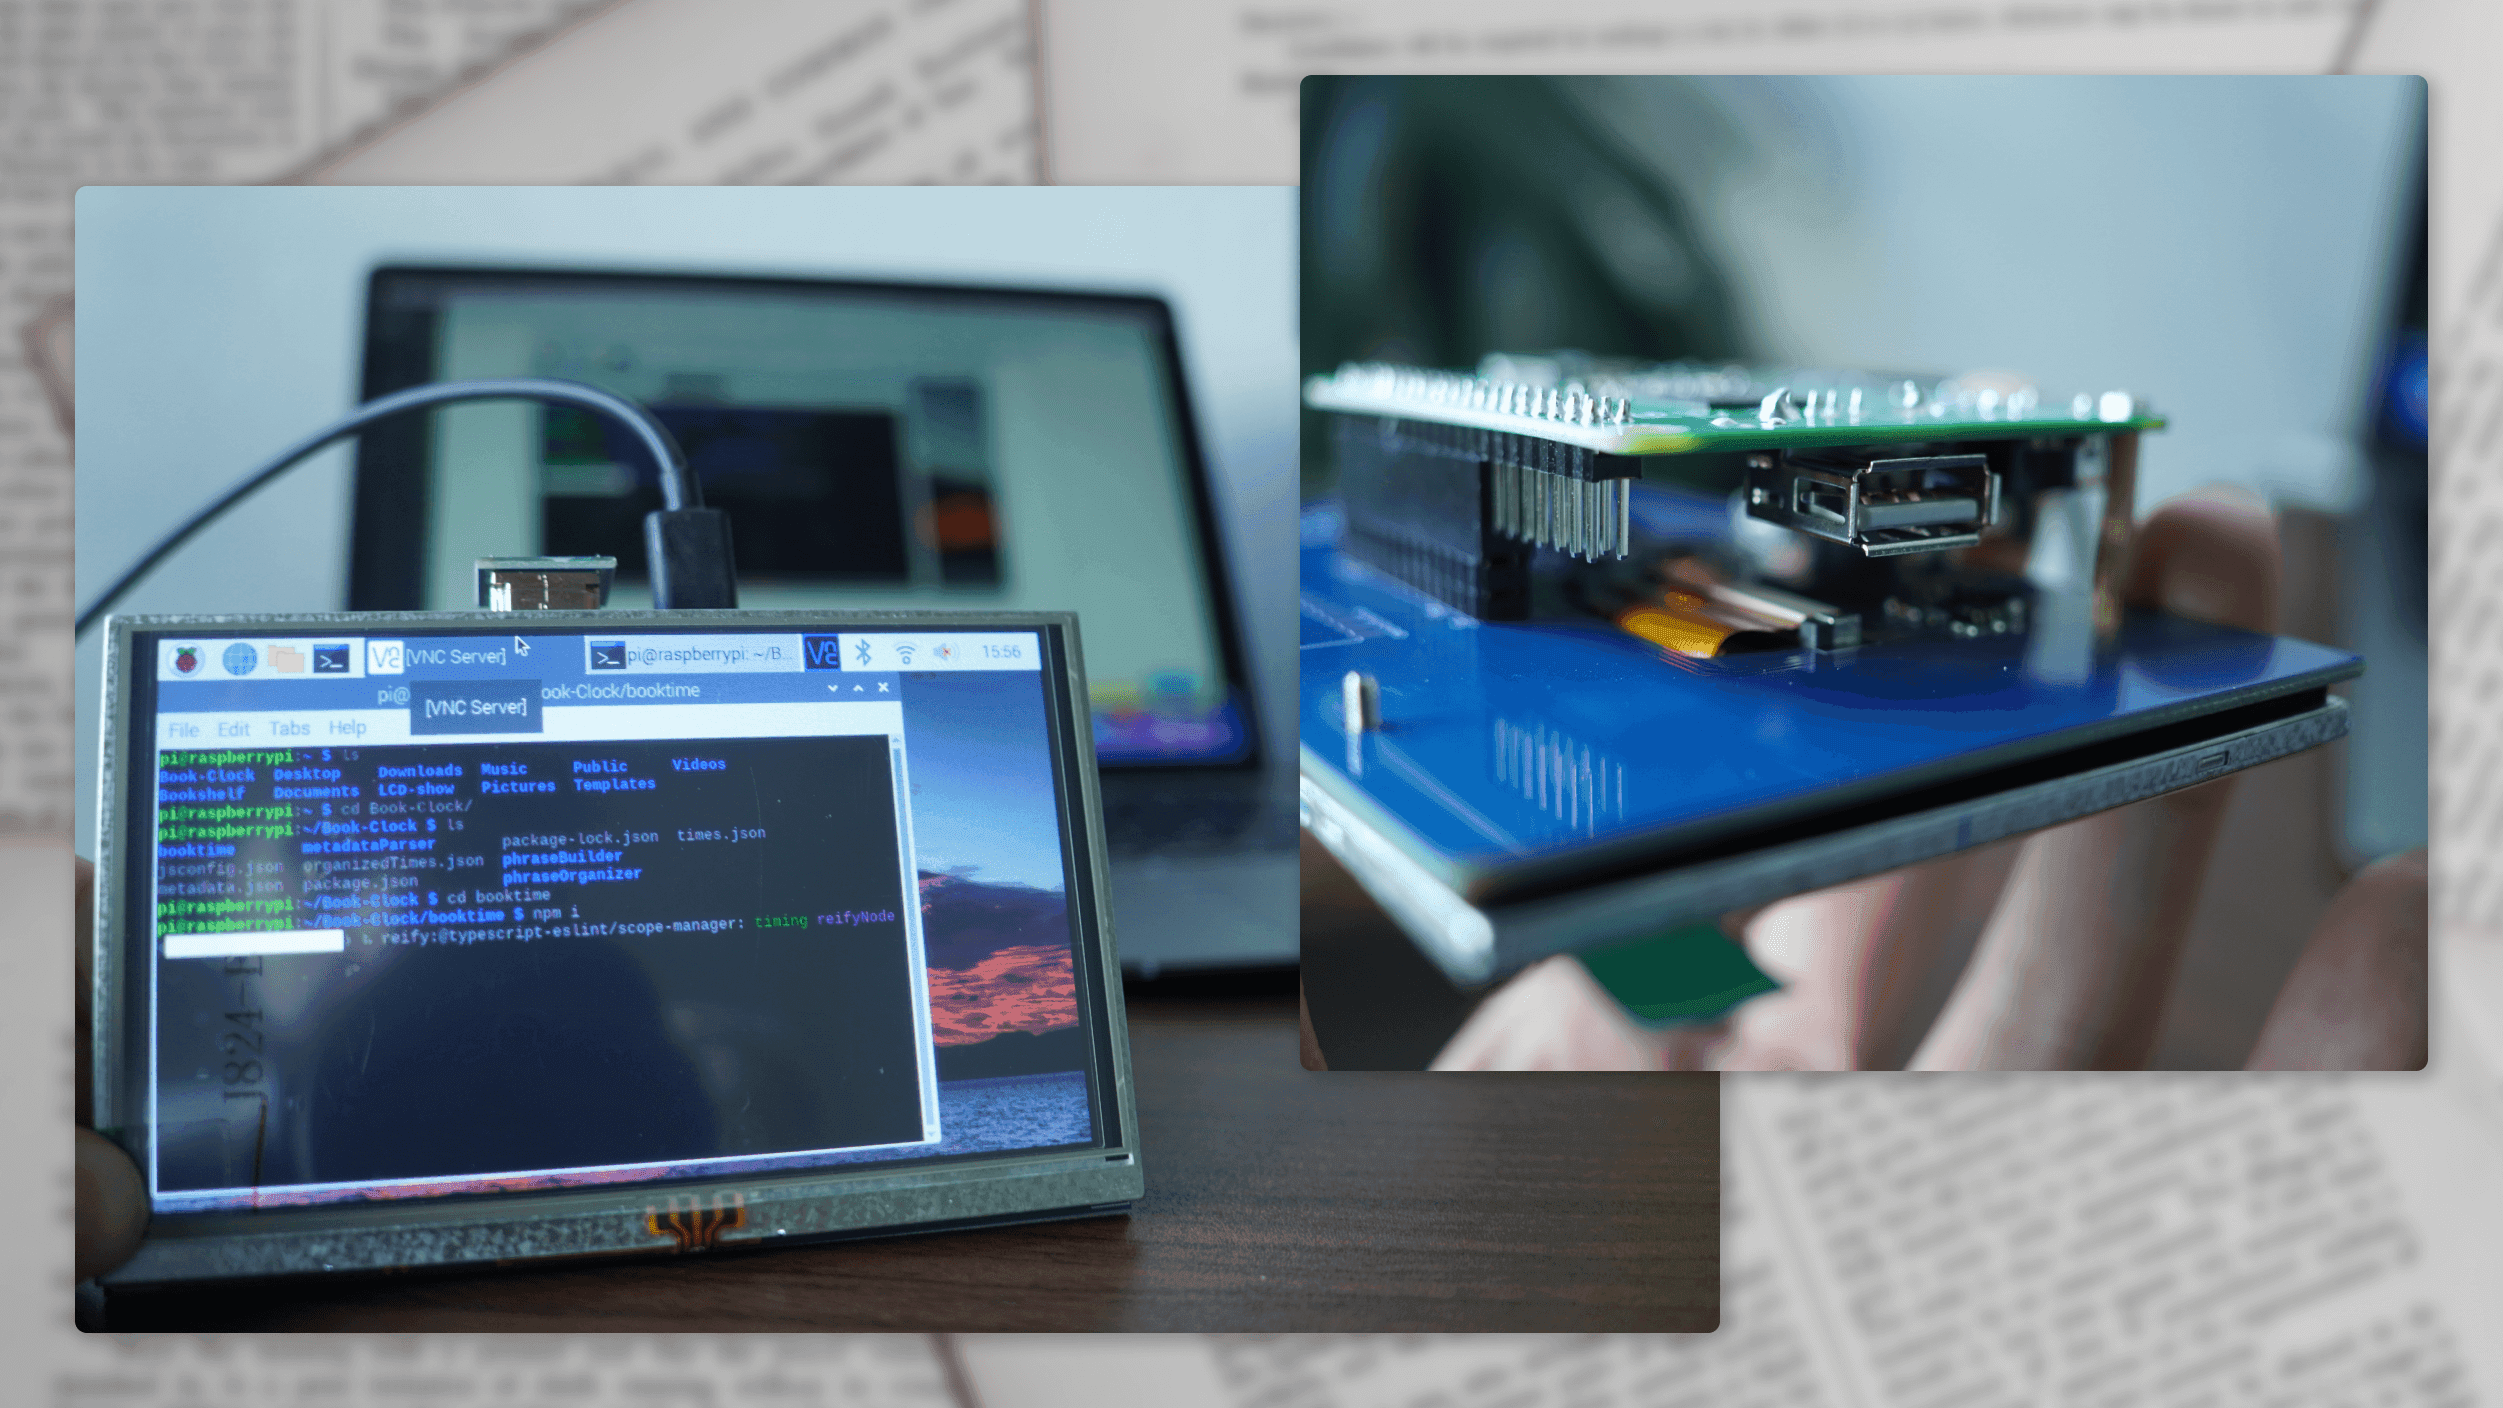
Here's the little touchscreen attached to the Raspberry Pi. This is the core unit that will go inside the wooden box.
It's almost 2022, and I refuse to make anything that doesn't work with USB-C. I wanted the clock to have a detachable power cord, so I bought a few little cables and adapters so I could add a flush-mounted USB-C port to the back of the casing that powered the Raspberry Pi via its micro-USB port.
Configuring the Raspberry Pi
I always image my Raspberry Pi SD cards using Raspberry Pi Imager. This little open-source tool does an amazing job of simplifying the process of formatting and imaging a card to boot a Raspberry Pi from.
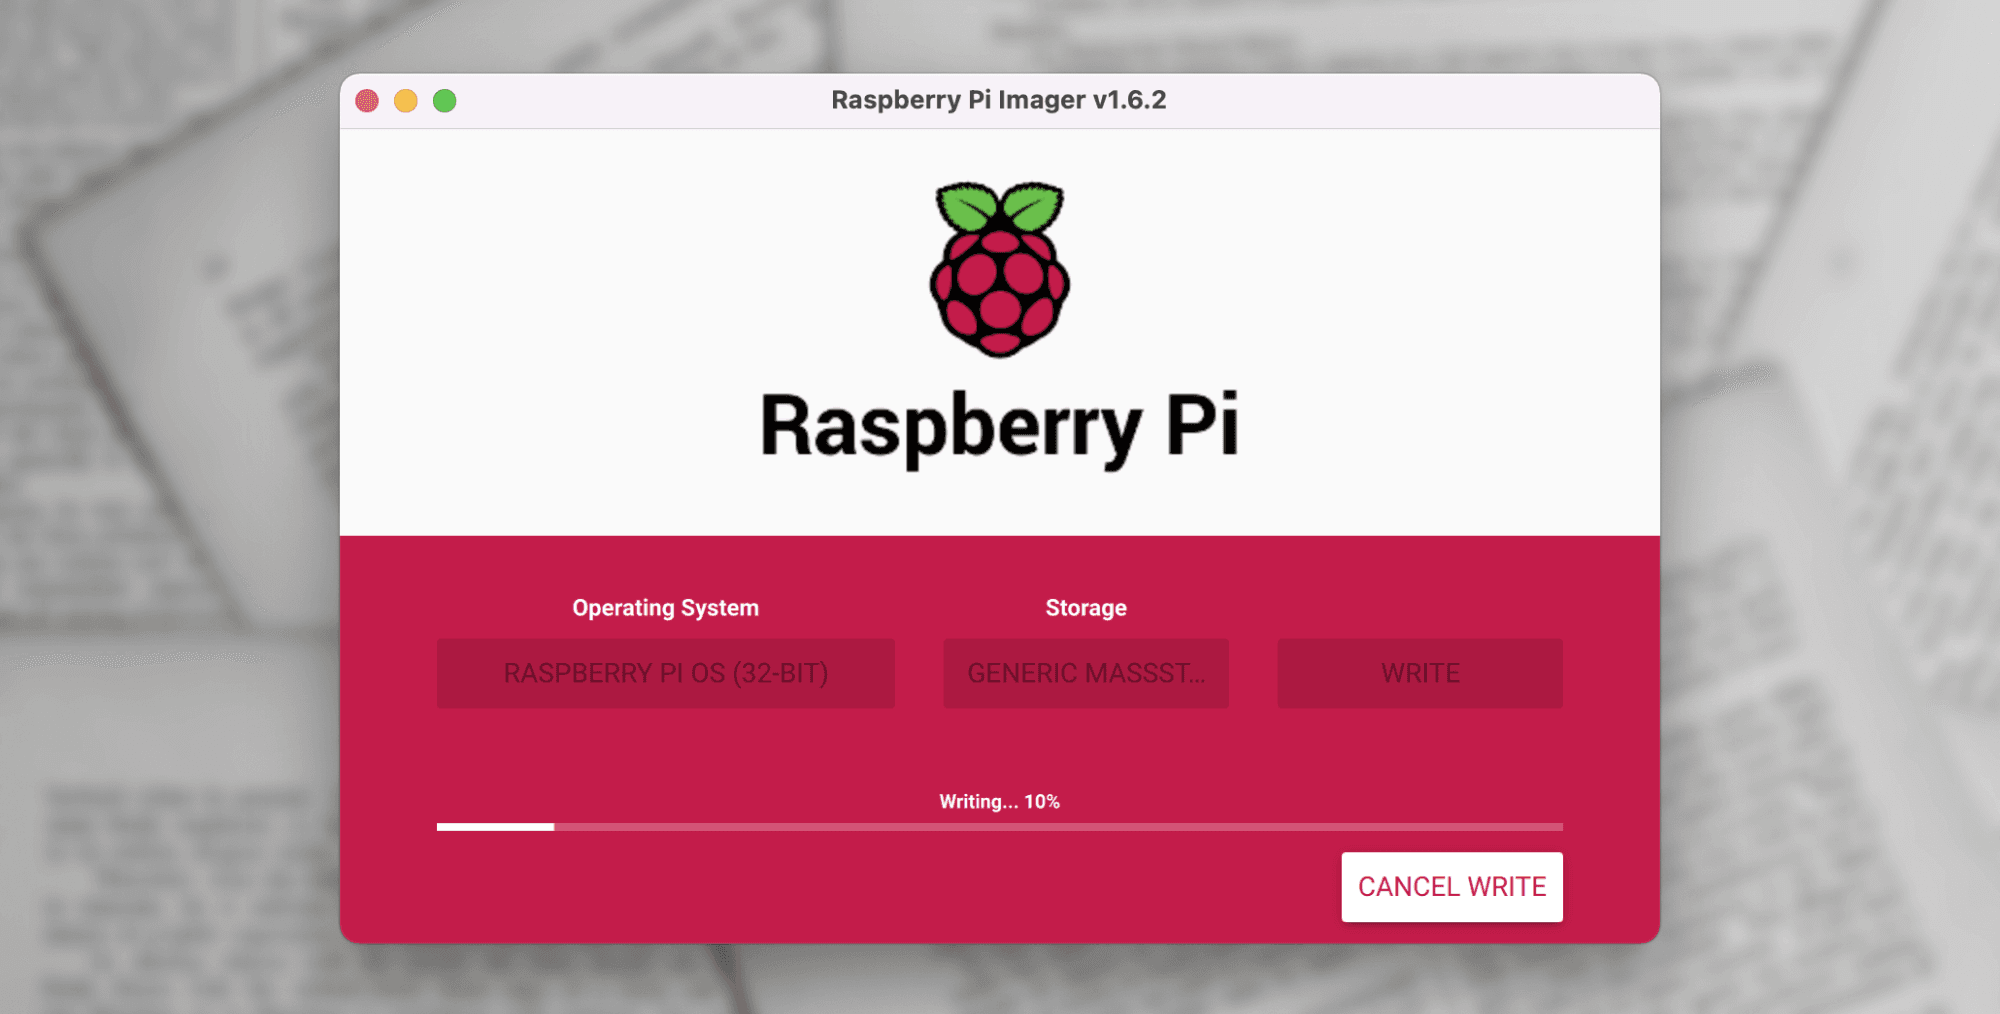
The touchscreen I ordered came with some drivers that needed to be installed in order to get the touch system to work. I also installed a number of other utilities. The unclutter package is used to hide the mouse after half a second, so it doesn't show on the display. I took bits and pieces from this tutorial on pimylifeup.com, which is a great resource for various Raspberry Pi instructional articles. I didn't follow that guide precisely, but there were some great ideas I did use.
When the Raspberry Pi boots, it automatically starts a node server to serve the Next.js app, and then launches Chromium in kiosk mode so that the web page is visible full screen automatically. The boot process is a little slow but that's not really a big deal since I don't expect it to be unplugged a lot. I'm using pm2 to launch the node server on boot. I've found this to be the most reliable way to automatically launch a node process and keep it alive indefinitely in case of crashes.
Developing/Sending Updates
One of the problems I ran into right away is that the Raspberry Pi 3A+ doesn't have enough memory to run the production build of the application, so I have to copy over the production build using scp. Something like this:
cd booktime && rm -rf .next && npm run build && rm -rf node_modules && cd - && scp -r booktime/ pi@192.168.4.122:times && cd booktime && npm i && cd -
I'll break down this command quick, what it does is clean the build directory, run a production build, remove the node modules (so we don't waste time and space copying them to the raspberry pi), copies over the build using scp, and then re-installs the local dependences so it's all set to run another build next time.
Once I had the ability to "deploy" updates to the device over the network, I needed a simple way to connect to the device remotely. Since it's running Raspbian, all I had to do was enable VNC since it came pre-installed. Now, in the future if I need to make bug fixes or updates, I can work on it remotely without having to remove it from wherever it gets placed.
The web server is also running on an open port on the Raspberry Pi, so a cool side effect is that I can visit the device's local address in a web browser to see what the clock display looks like at any time.
Building the Case
Designing and building the housing out of wood was the task I was least confident about, and had the most room for error. I purchased some small pieces of poplar wood and got to work measuring and cutting the pieces to make the 3 individual components - the front frame, the sides, and the back cover.
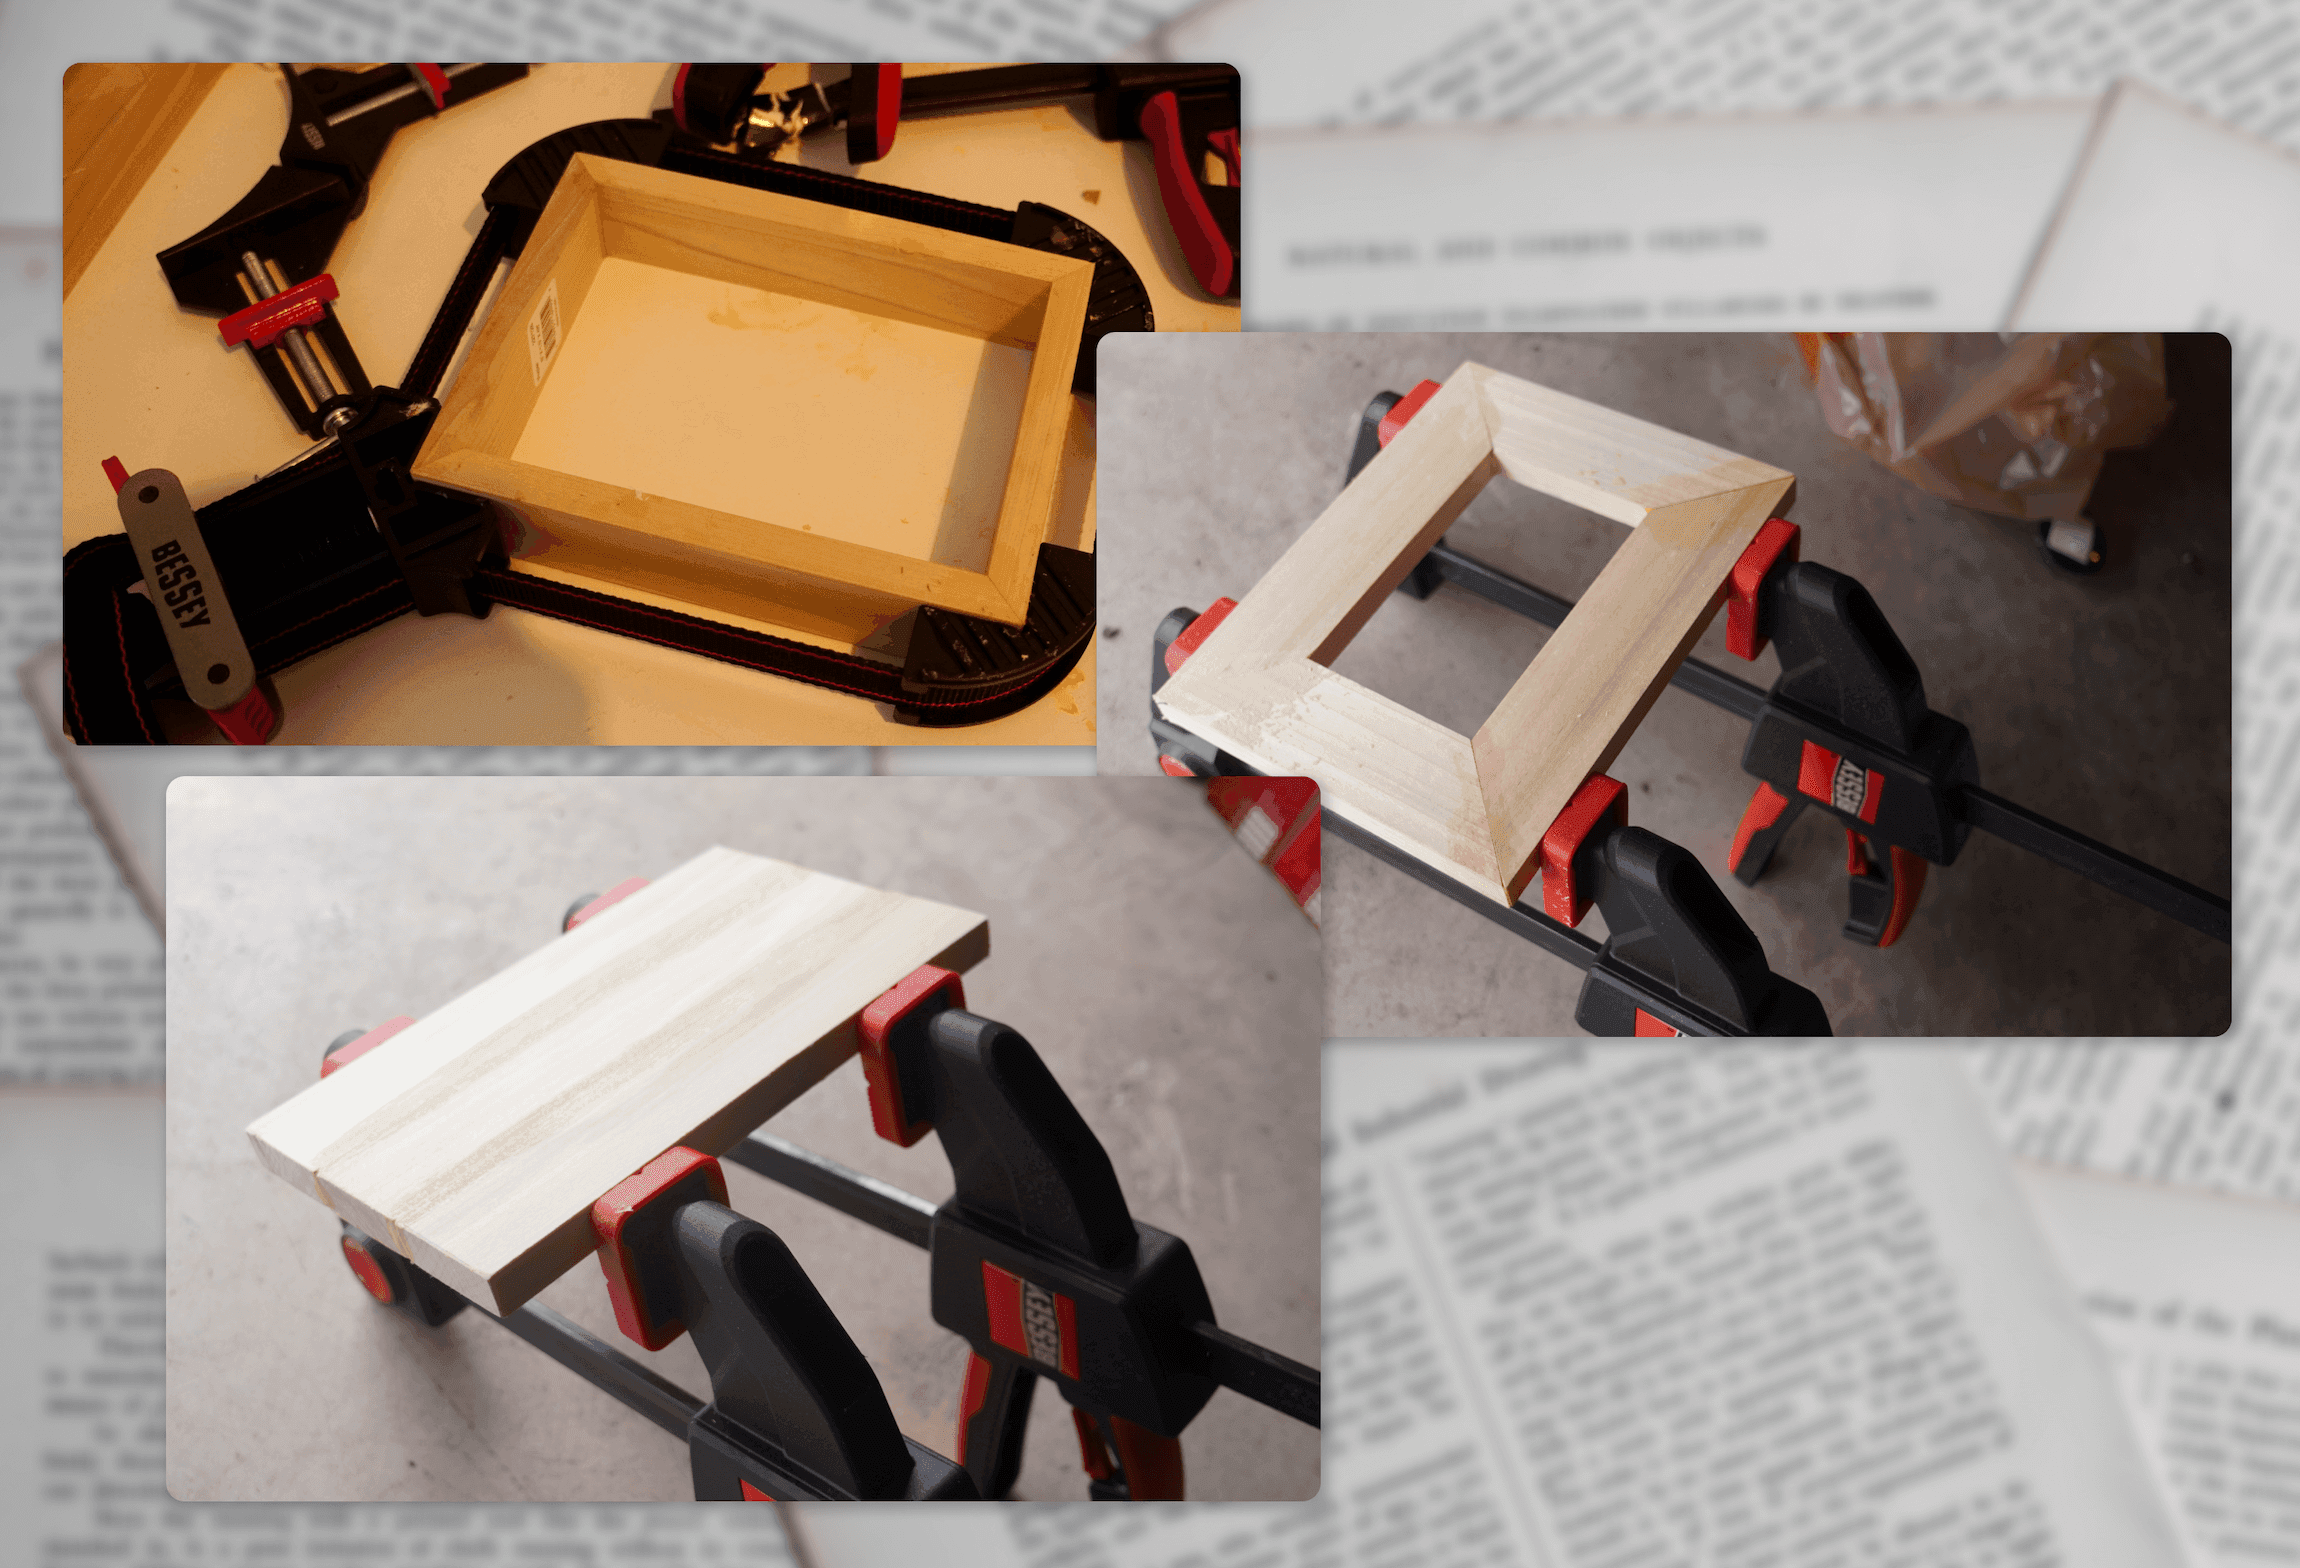
Most of these pieces were cut at 45° angles save for the back panel. Everything was glued together using a strong waterproof wood glue and clamped tightly for about an hour before being sanded, starting with 120-grit sandpaper and moving all the way down to 220-grit for a smooth finish.
After the pieces dried for another hour or so, I cleaned them off and stained them with two different colors - a darker brown for the front and a red for the side and back.
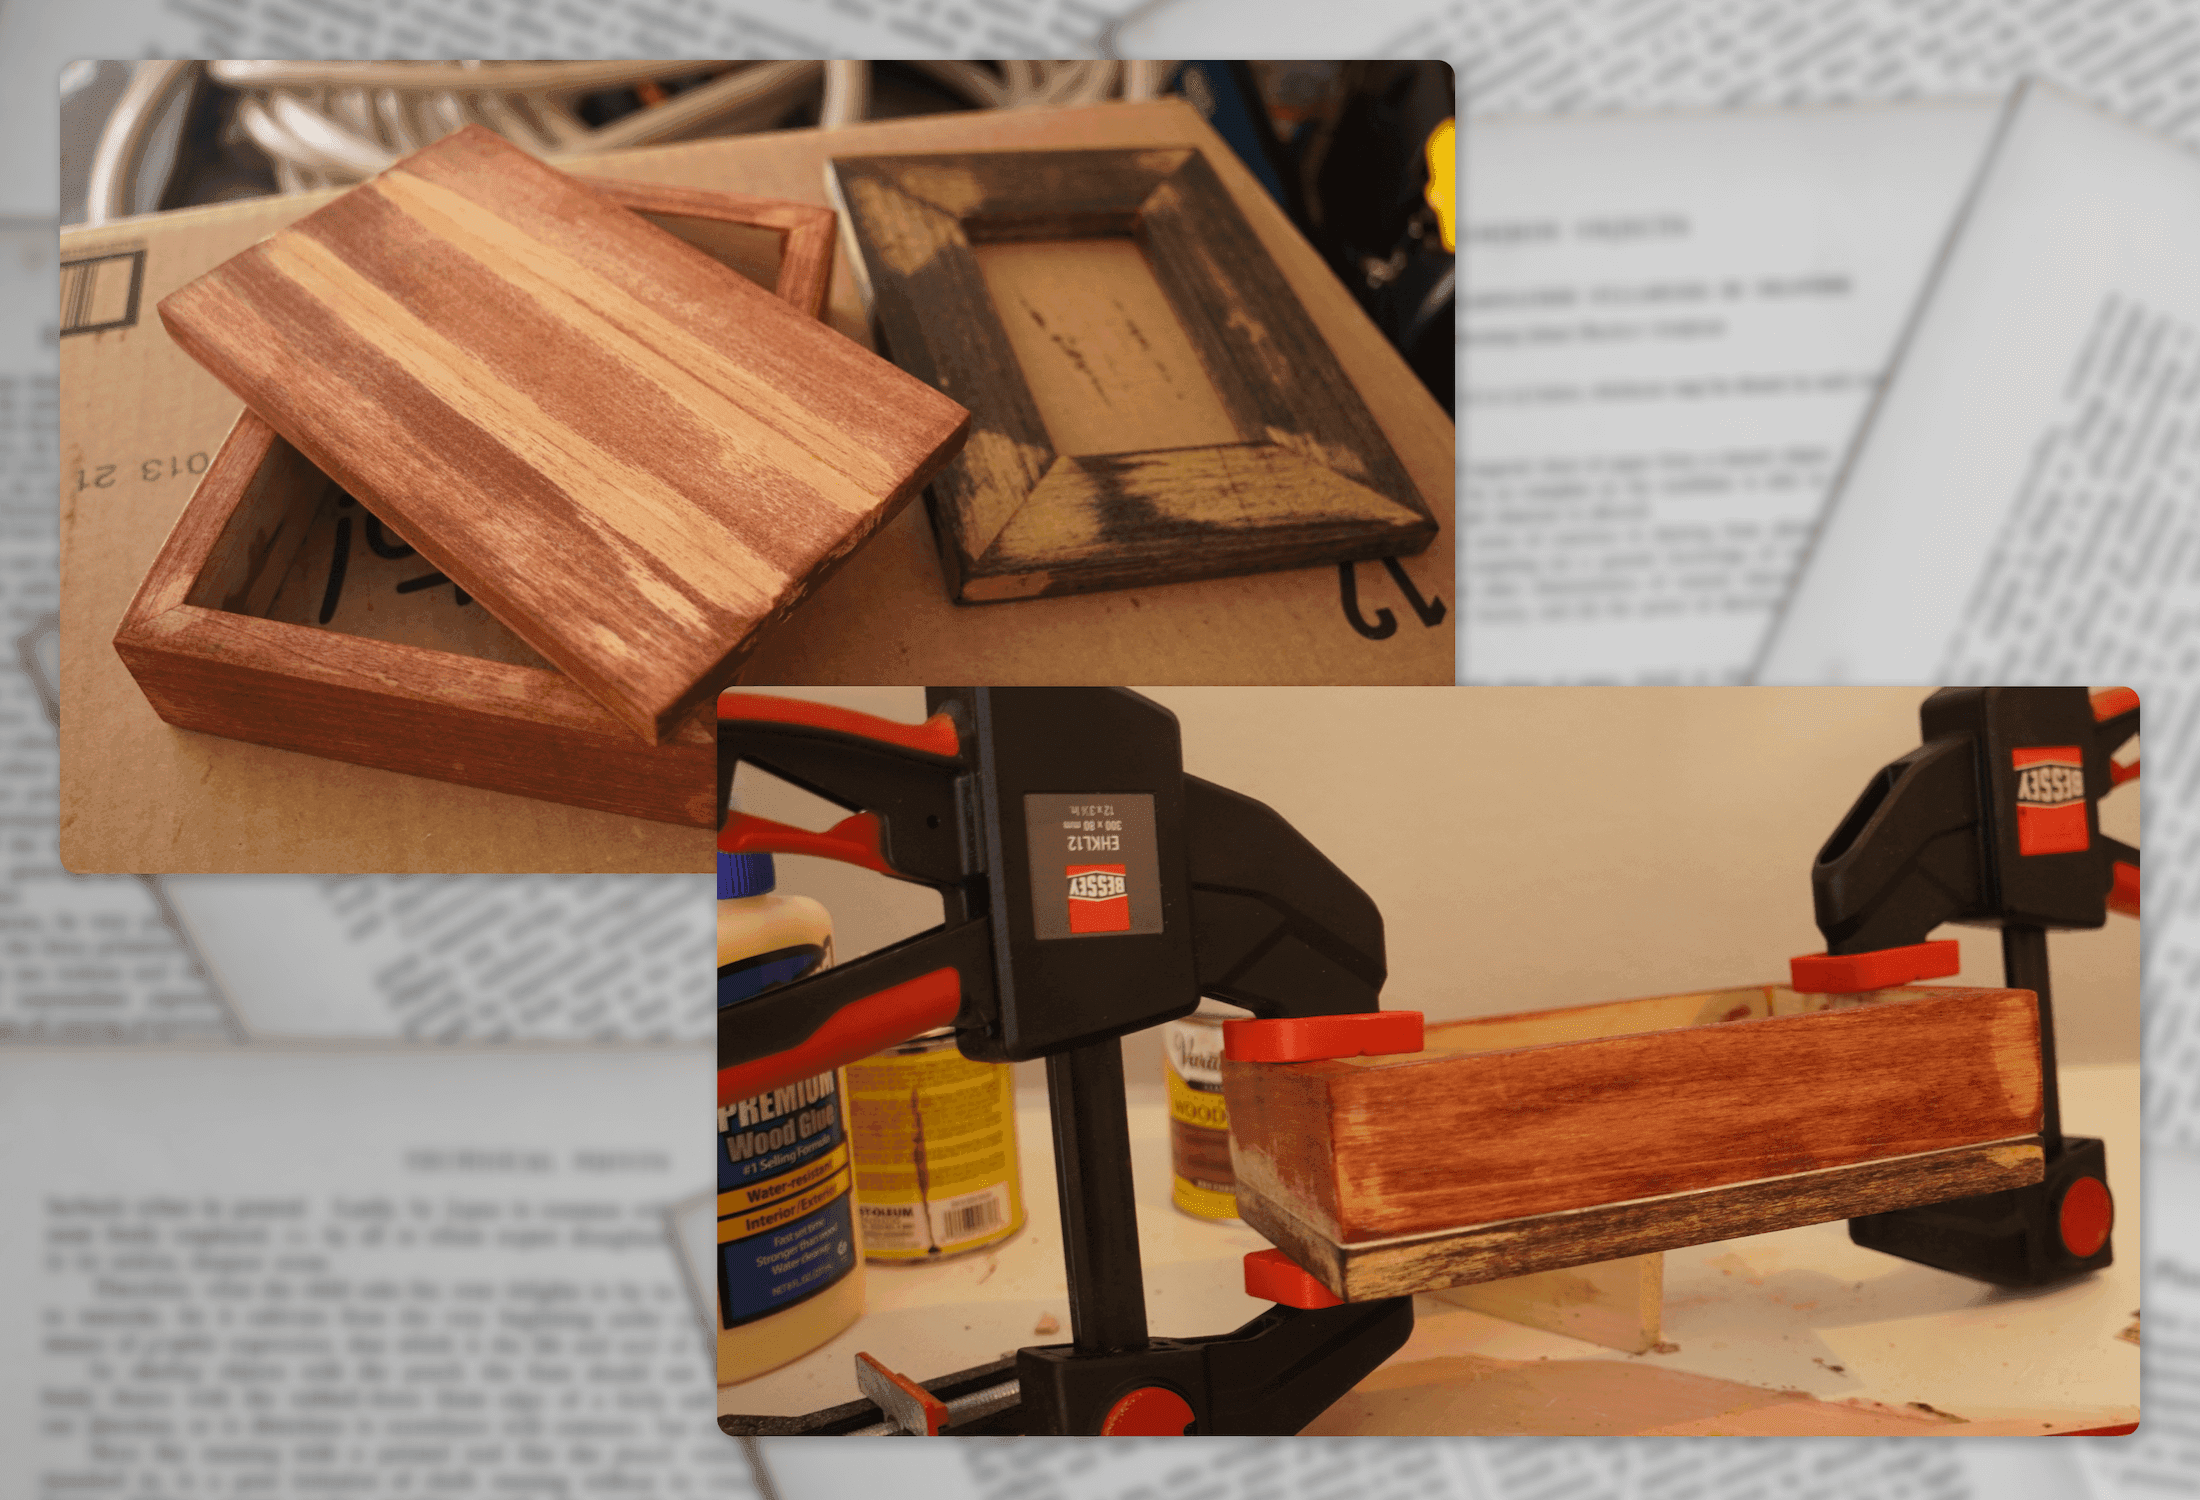
I wanted a bit of a rustic look for these pieces, so to achieve that I simply put a little bit of wood glue on the surface of the wood, and once dry sanded it down so it was smooth but not fully removed, leading to the lighter patches you can see above.
To complete the main portion of the housing, I glued the front frame onto the side pieces, and after a bit of drying did another coat in the red stain across the entire thing, so that the front matches the reddish tint but still comes out much darker in color.
Now we need to finish up the back cover. This piece doesn't go all the way to the bottom of the case, to allow for some airflow since the display and Raspberry Pi will generate a small amount of heat.
This back panel is where I mounted the USB-C port. I drilled out a hole in the center of the panel, but my largest drill bit wasn't quite the diameter of the USB mount I bought, so I took some sand paper on my Dremel and widened it slightly, smoothing it out at the same time. It's important to go slowly doing this - the Dremel is very fast and will ignite the wood if you don't take breaks to keep it cool.
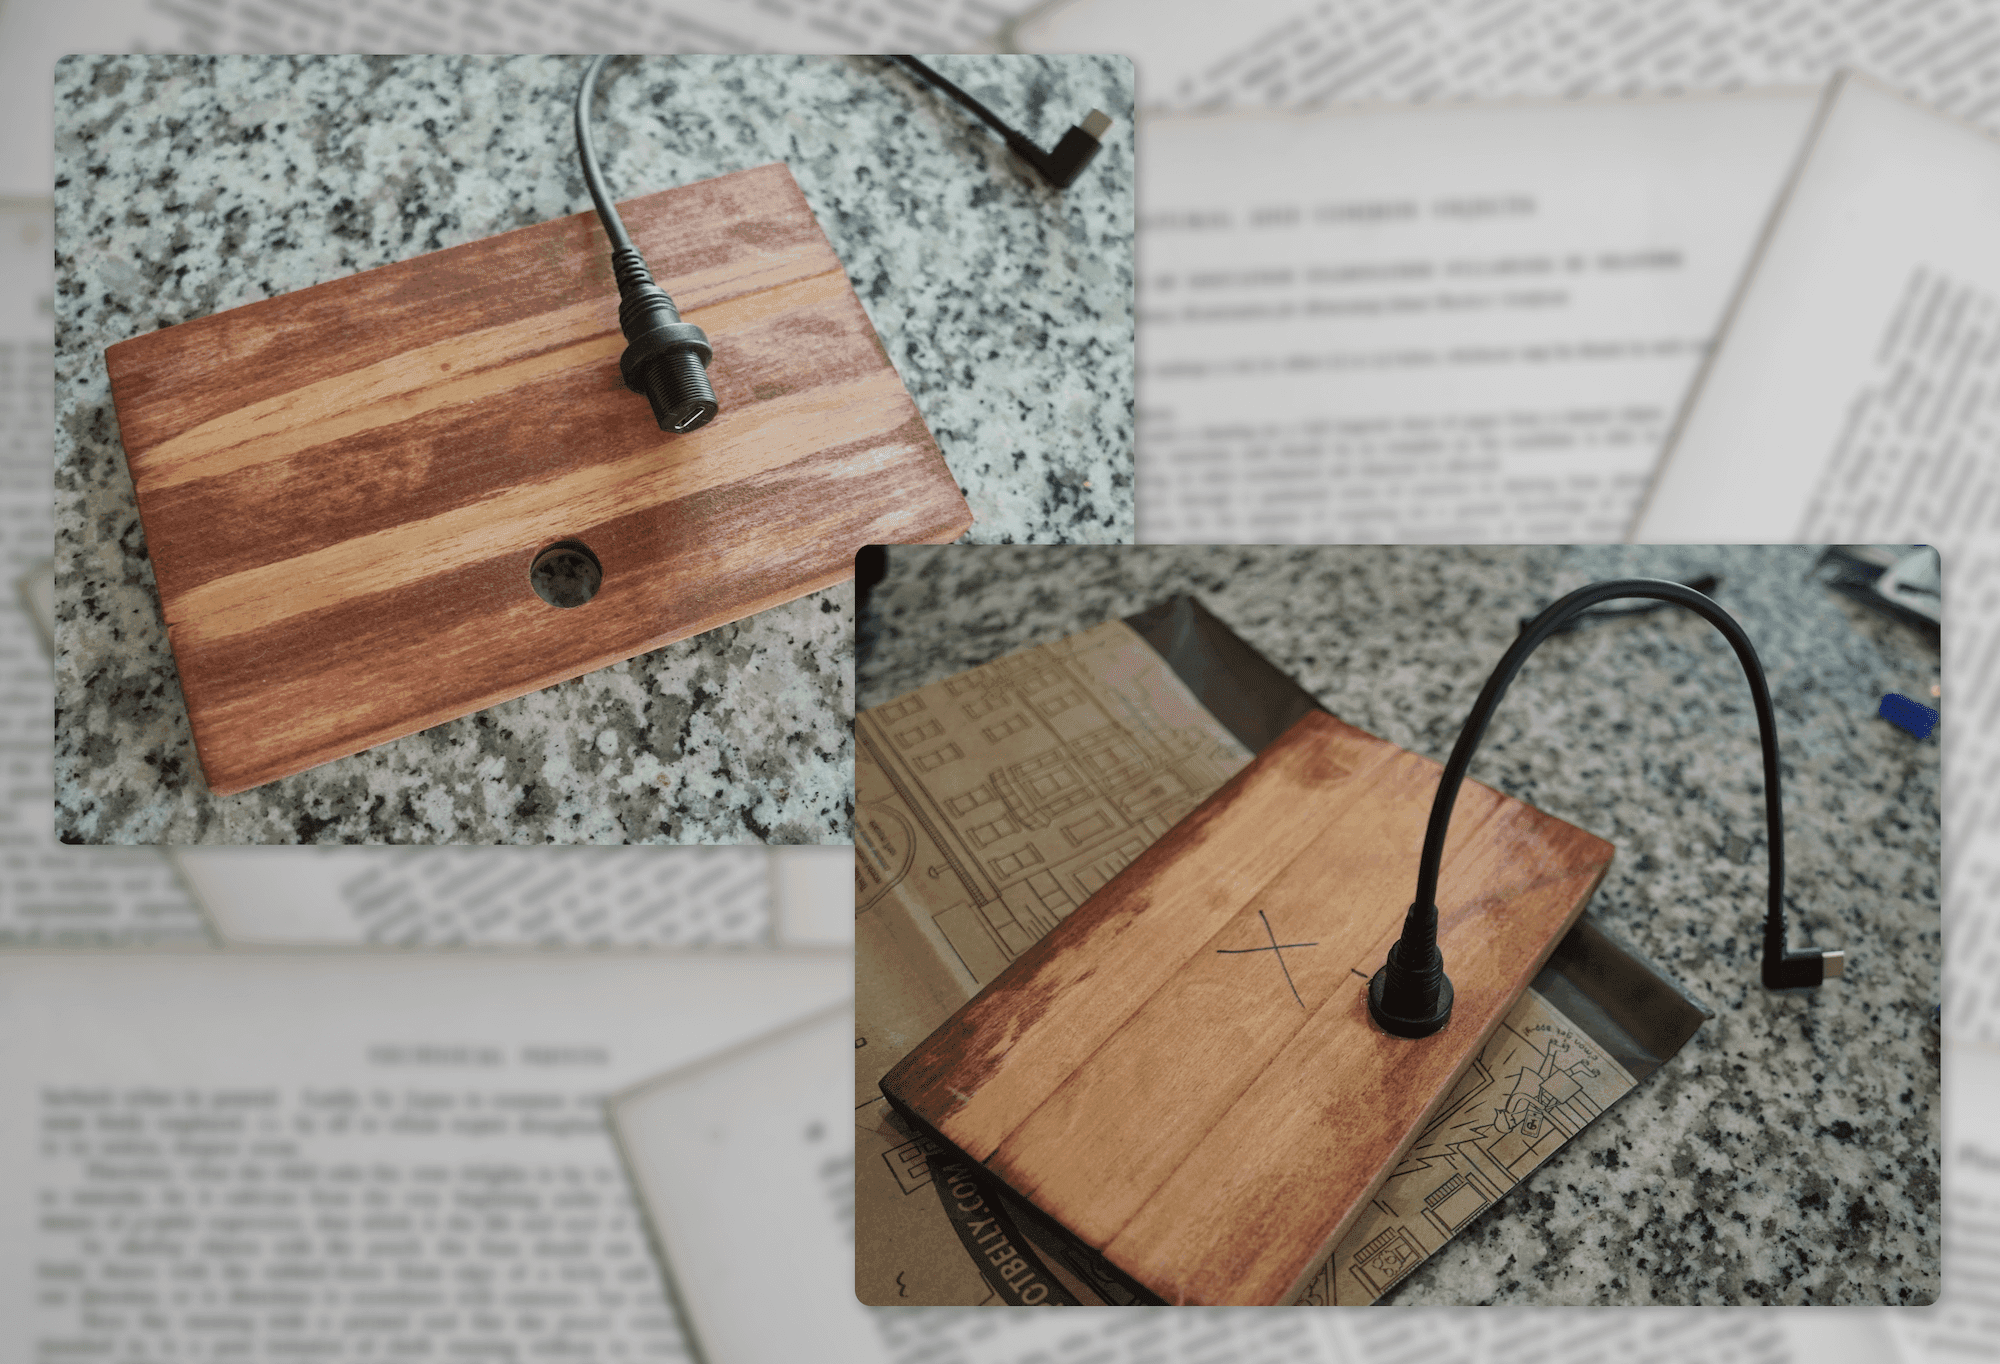
Once the hole was ready, I stained the back panel with one additional coat to cover up any marks I made drilling and sanding the hole. Once it dried, I went ahead and glued it in the hole using some Loctite Superglue. It's important to be careful here not to get glue inside the USB port - I covered it with tape to keep it protected while gluing.
The last step for the case was to determine how to attach the back. I ended up going with two small screws so that I could remove the panel down the road if I needed access to the Raspberry Pi. This also meant I didn't need to put the computer inside before finishing the case, which you'd have to do if you wanted to glue the back panel on. I definitely don't recommend the gluing route, as there are various reasons you may need access to the internals for maintenance.
Putting it All Together
At this point, I was very relieved that the hardest part was done. I cleaned up the wood shop and went back inside to finish assembling and testing everything.
Even though the hardest part was over, I was still not looking forward to mounting the display inside the case - it needed to be perfectly square and there was no real way to line it up from the back. I ended up just holding it in place and repeatedly flipping it over to look at the front while it was powered on. Once it was aligned, I used some hot glue to tack it down around the corners, and then applied a generous layer of rubber cement and super glue to fasten it securely.
When attaching the back, the USB port was a little too large to fit with the Raspberry Pi in the case. I took a Dremel tool to the backside of the port and removed all the excess plastic so it was thin enough it fit inside without putting too much pressure on the cords.
Finally, I could screw the back on and attach some little feet to the bottom to protect whatever surface it sits on. I happened to have a spare set of rubber feet with adhesive backs, but something like this would work well too.
The End Result
I ended up really happy with how this all turned out. After many hours of work, the last few steps had the most possibility to go wrong, with drilling holes and gluing the electronic assembly in, but it all went off without a hitch and the end result is exactly how I'd hoped it would be.
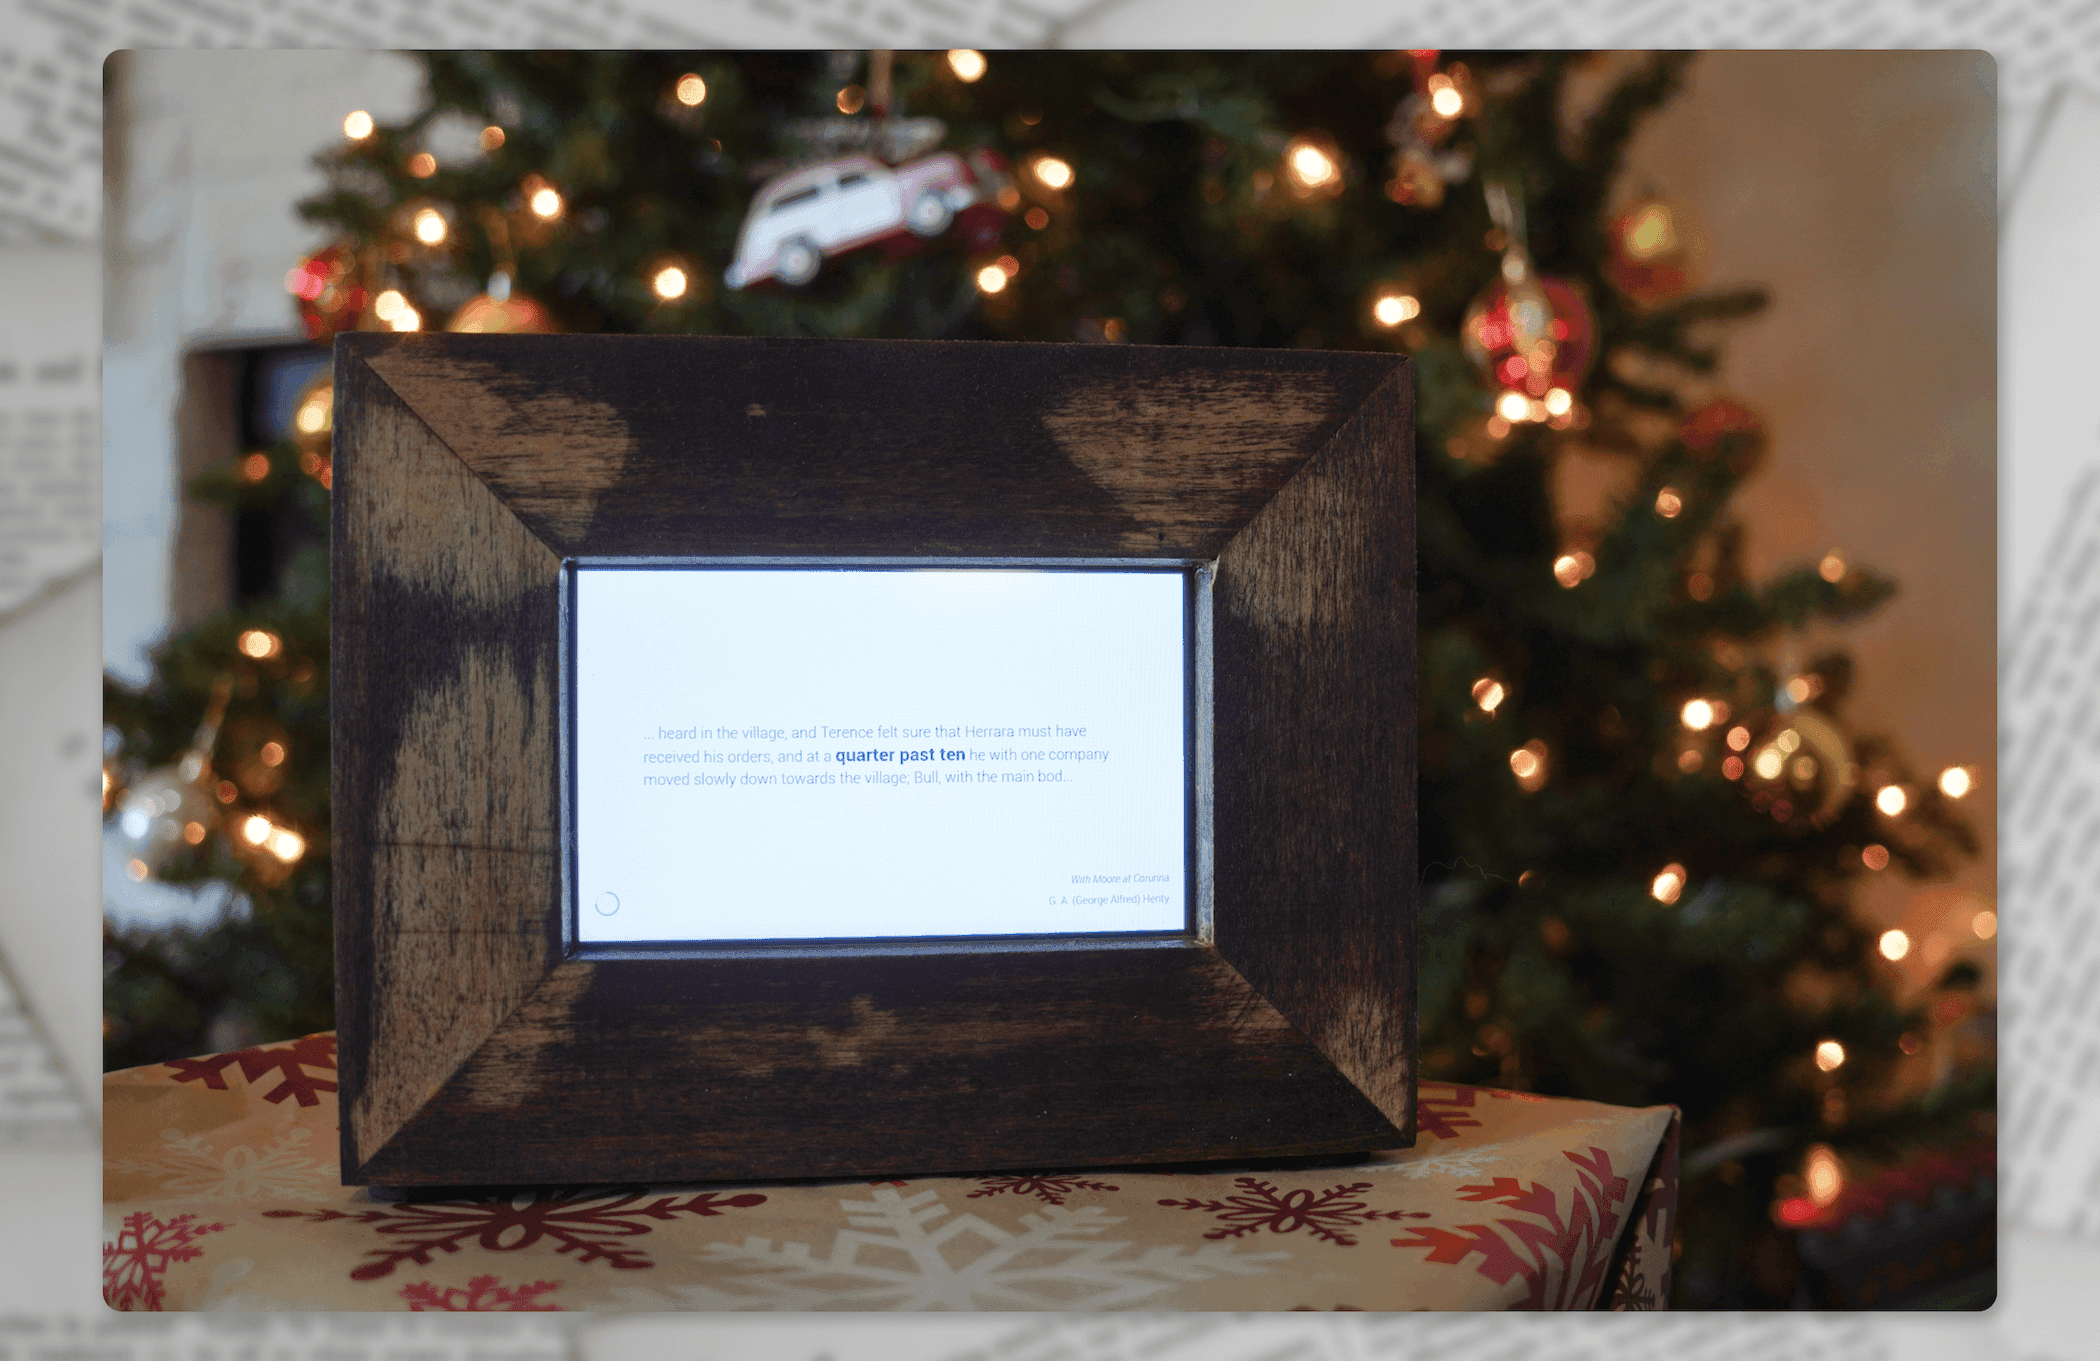
I hope you enjoyed reading my step-by-step guide to how I put together this unique gift, and best of luck to you if you try to create one for yourself! Let me know what you think of the book quote clock, and if you do try it for yourself I'd love to hear how it goes and see the end result over on Twitter!
Happy holidays, and I'm looking forward to creating more content here in the new year!


